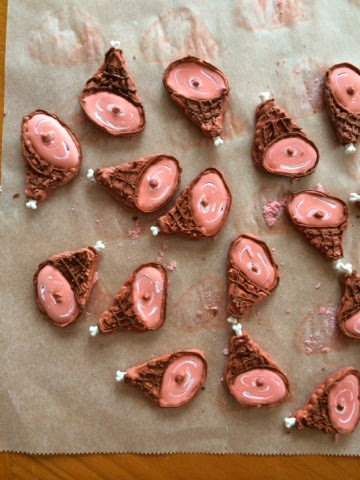
So I decided to make a ham to represent them because Hamm is their last name. I made them out of Color Flow icing since I like it best for premade candy that I am going to put on a cookie.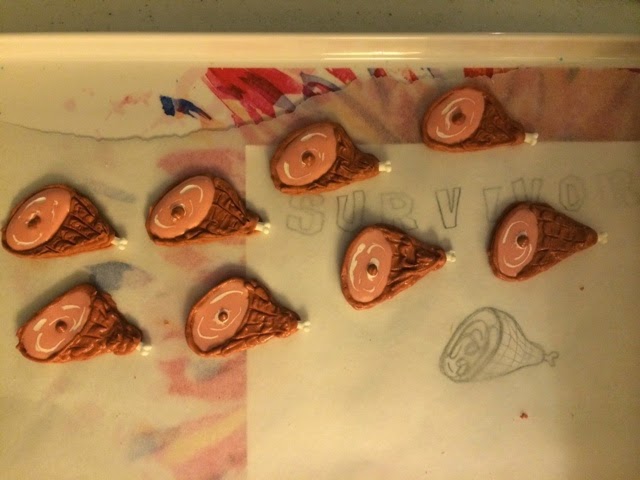
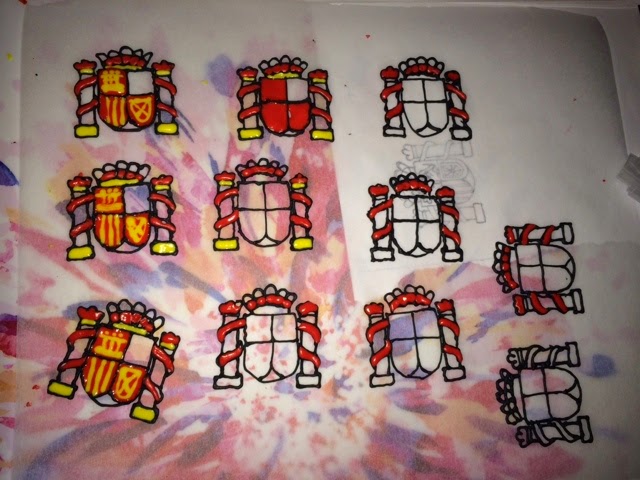
 Just had to show them all drying.Now for my favorite part - decorating!
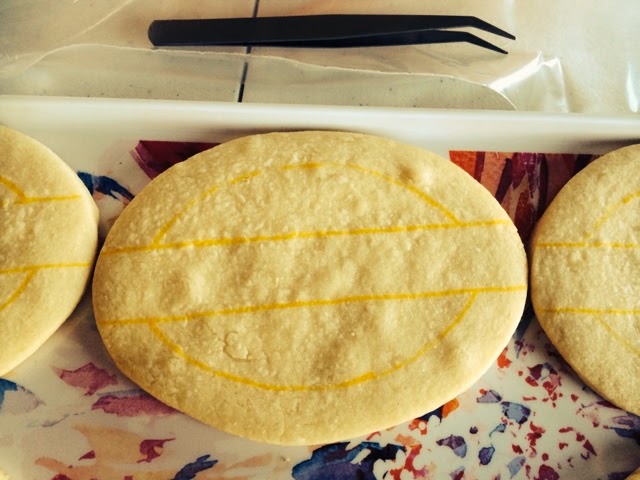 I did the white banner first and added the letters while it was still very wet.
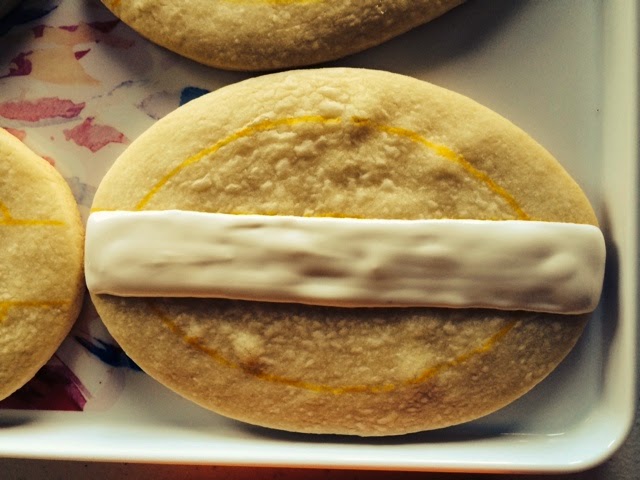
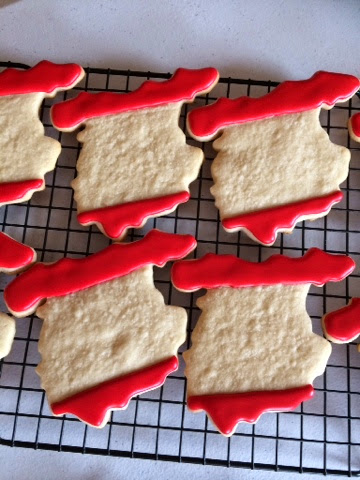
 Love the consistency I get by making them ahead.
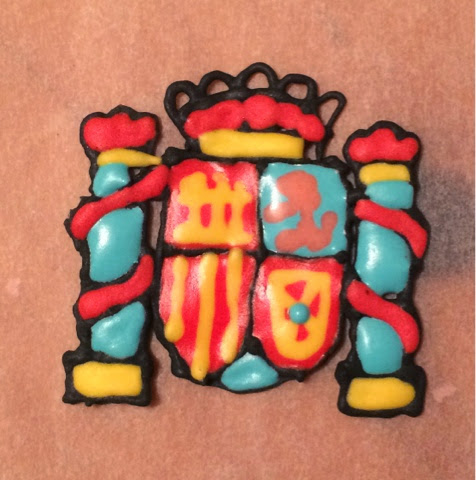
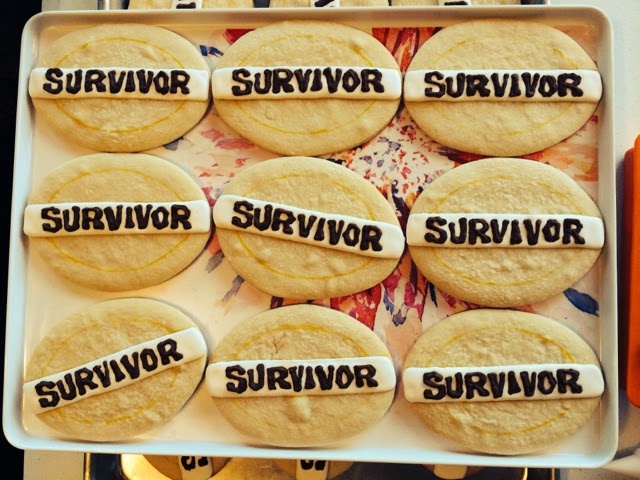 Next I added the outside color and put white dots on it while it was wet, then pulled a toothpick through them to make hearts. Obviously I got caught up in decorating because I forgot to take progress pictures from this point. So...
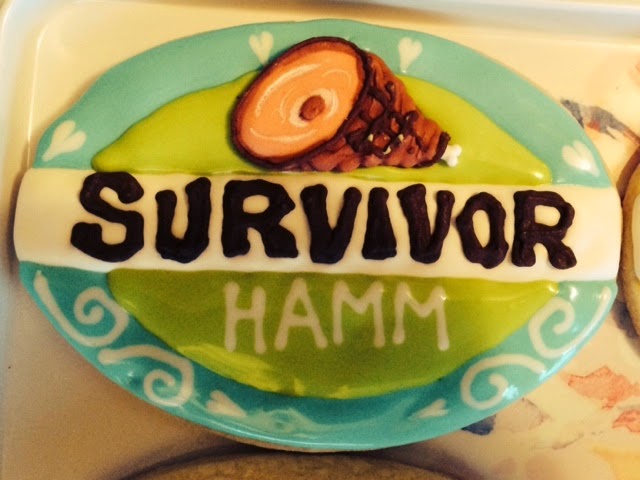 I did them to this point and let them dry overnight. Then this morning I used a food marker and added the small words and decided to outline "HAMM" so it would show up better.
I just put a drawing under my parchment paper and trace and fill around it. I did use a tiny bone from some Halloween decoration confetti instead of making my own. Let them dry at this stage overnight and then added dark brown piping. Not necessary but I just did.
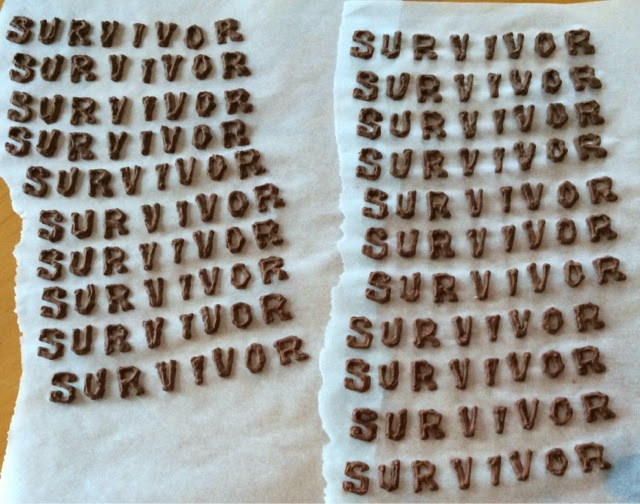
I never use waxed paper to make these on because it sticks to the icing. ALWAYS use parchment. It releases as soon as the icing is dry.
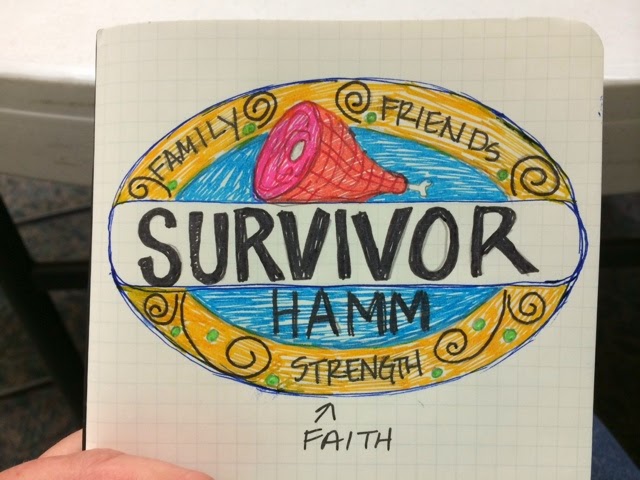
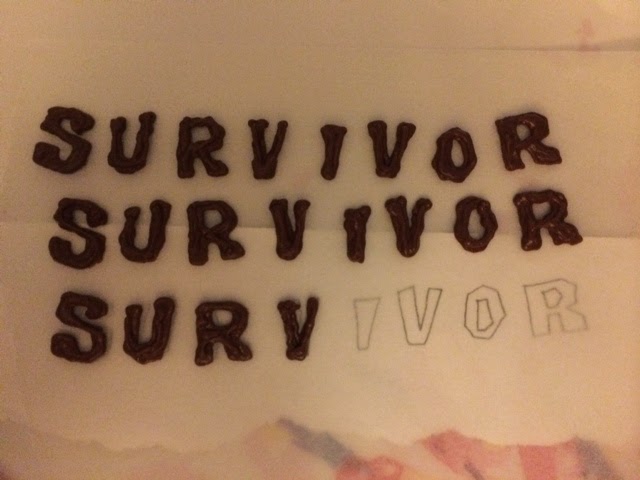
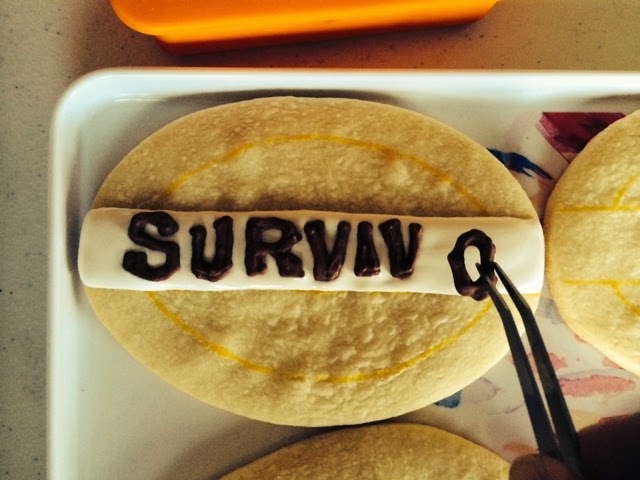
There is a banner across the oval that says "SURVIVOR" on it. So in order to make sure all my letters were the right size and to make the decorating go that much faster, I premade the letters with the dark brown piping.
Super easy and so much better than trying to get it perfect on the cookie.
I let those dry and then put each letter in individual sections of a silicone icecube mold. (as in all the S's go into one section etc.) I use an angled tweezer to place them on the wet icing of each cookie.
I have some stamps that say "faith", "family" and "friends". They have never been used with ink so I am going to color them with cookie markers and stamp those words onto the cookies. Can't wait to see how these all come out.
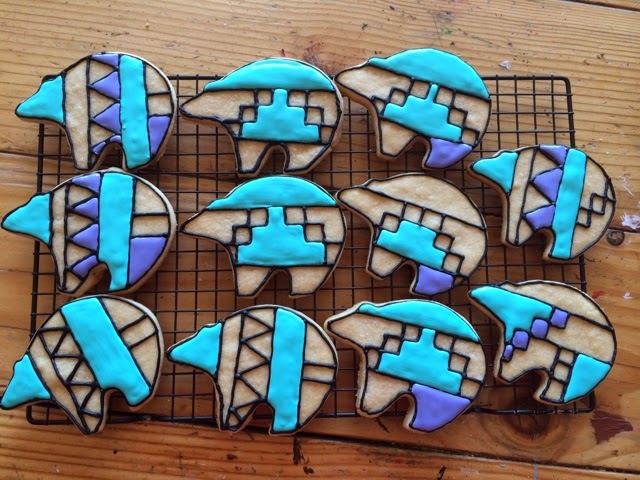
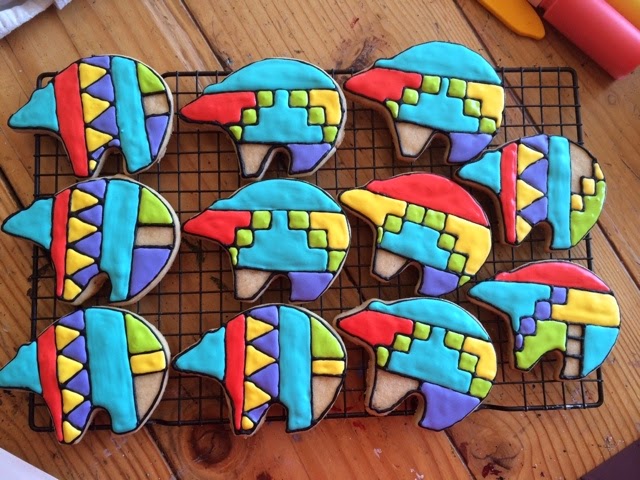
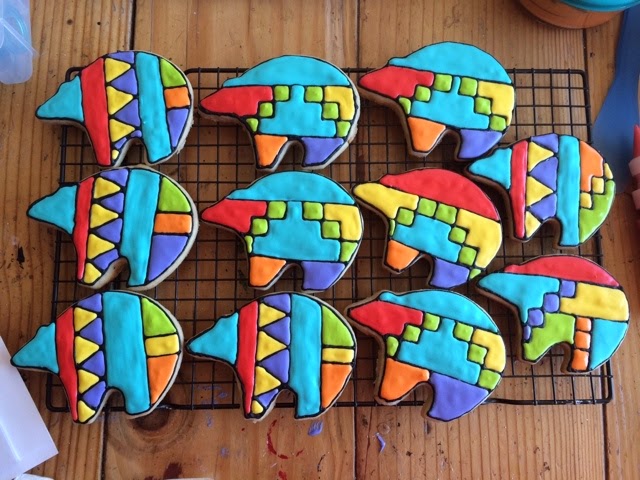
First I drew lines on the cookies so I'd know where each section went.
I use an angle tweezer to add the letters.
I made 21. 4 different outline colors.